iPaaS Insights
Integration tutorials, tips and best practices

Deploying Cloud-Native Integrations with Apache Camel K
It's safe to say that despite what some industry experts said when the first cloud solutions began to launch, the cloud is not a fad. Companies have taken notice, developing solutions built in (and taking advantage of) the cloud and all its features. Cloud-based technology moves tools and workloads away from legacy systems, letting developers build projects that work natively wherever they need to go.
That extends to integration tools as well. Modern integration solutions need to work with multiple cloud providers and conform to a customer's environment no matter what it looks like. Developing integrations on a cloud-native architecture like Kubernetes gives you more freedom to deploy integrations anywhere you want, with integrations running natively in the cloud.
Below, we'll explore how you can build and run cloud-native integrations on Kubernetes easily through Apache Camel K.
Creating a Cloud-Native Data Integration
You probably already know by now the benefits of building applications designed specifically for the cloud. Cloud platforms deliver all the resources you need to build strong applications and services. And it's easy to deploy them as a container or microservice inside your cloud environment.
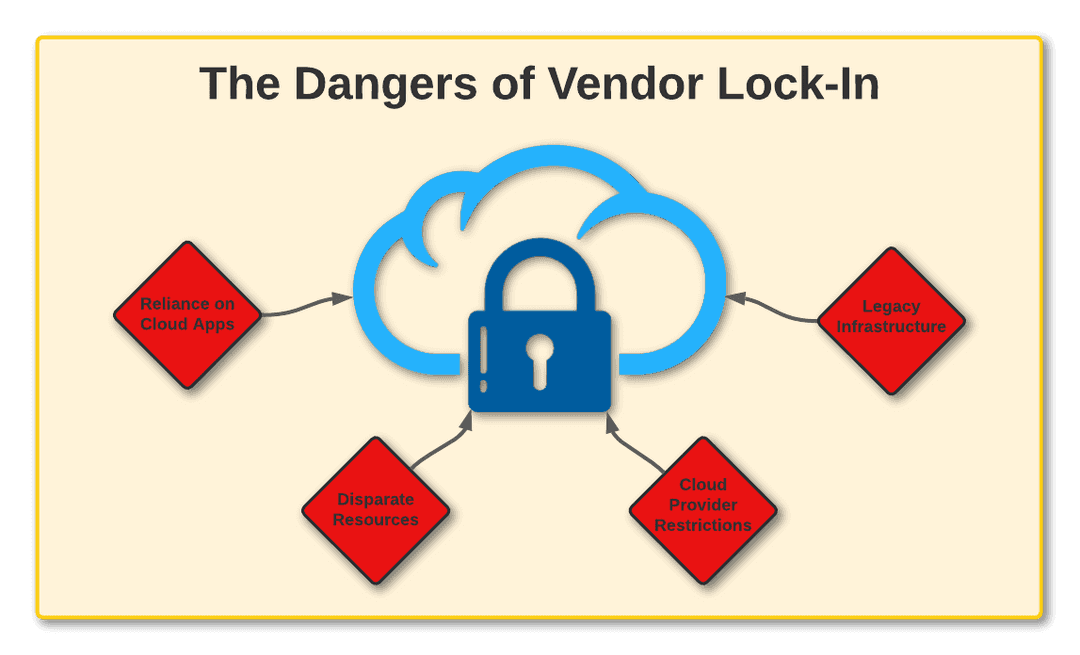
But what happens when you need to integrate those applications together? It's easy enough to do if you're building everything in one platform, but that opens up a problem: vendor lock-in.
No matter what cloud service you're using to build and run your applications, you'll likely run into the problem where your apps are so reliant on that service that getting them to work standalone is complicated. While these cloud-based development platforms are powerful, they can sometimes be more restrictive than they're worth. And if your cloud vendor doesn't already have native support for the services you need to see your projects through, that just makes the problem even worse.
The end result is that applications and integrations designed in those platforms aren't truly cloud-native, as running them elsewhere will likely cause issues.
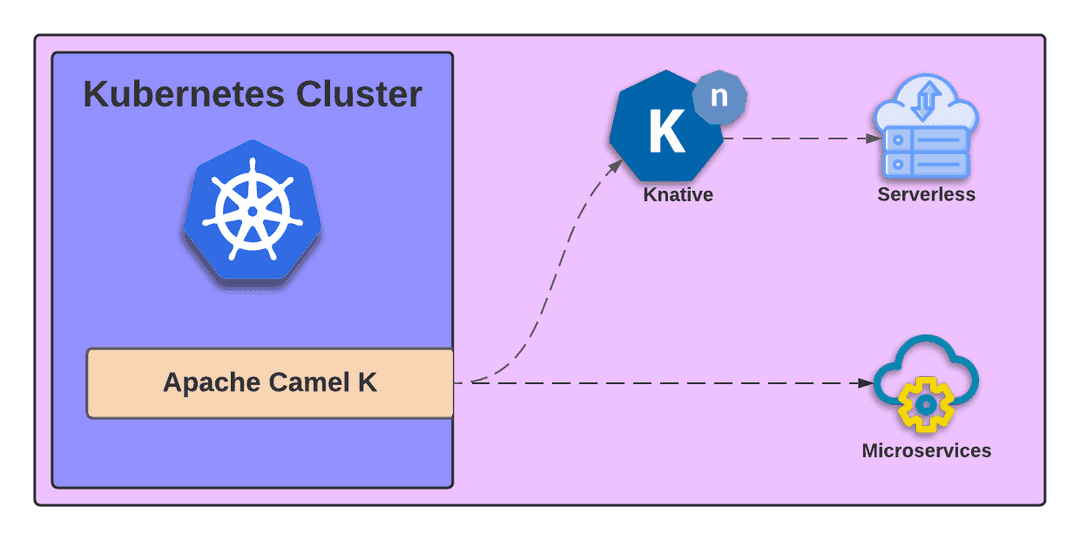
Thankfully, it's possible to overcome these limitations by adopting a true cloud-native approach to integrations. Running your apps through serverless or microservice architectures like Knative and Kubernetes, for example, ensures that your developers can adapt its integrations to work in any environment.
Building them with open source cloud-based tools like Jetic lets you overcome vendor lock-in while still giving you all the resources you need to create strong integrations. And Apache Camel K is what makes it all possible.
Apache Camel K: The Cloud-Native Integration Machine
Apache Camel is a lightweight, open source integration framework that gives you full control over where your integrations can run and be deployed. Camel can run wherever you need it to, but for serverless and microservices deployments, Apache Camel K is the best option. It gives you all the advantages of Camel while also making it simple to configure your integrations for Kubernetes.
Camel K runs natively on Kubernetes, running instantly in a Kubernetes cluster regardless of where it's located. With it, you can design, test, and deploy integrations wherever Kubernetes can run (which is a lot of places). It also supports several data formats, giving you plenty of control over your integration development.
Building integrations in Camel K is a simple process. You won't have to manually create the necessary resources to configure your applications and integrations to run on Kubernetes; Camel K automatically creates those resources in your cluster. There's also no need to rebuild applications and integrations if you need to change them, as Camel K makes it easy to send updates directly to Kubernetes.
While building integrations on Kubernetes is Camel K's primary function, it's also designed to make serverless integrations easier with Knative. Camel K can automatically configure your integrations and resources to work with this architecture to create serverless deployments.
The best part is that you barely need anything in place to set Camel K up. All you need is a Kubernetes or OpenShift cluster and a build of Camel K. The build includes the kamel CLI tool that both runs integrations and configures Kubernetes clusters. (Detailed instructions on installing and configuring Camel K can be found here.)
See It in Action
Looking to get started with Apache Camel K? Here's a simple demonstration of building an integration on the framework:
Figure 1
One of the benefits of Camel K is that you can use the Java DSL for a cleaner interface and smaller lines of codes to handle many functionalities. In the example above using Figure 1, we use the Camel K script in a groovy file to run our timer integration.
In this example, four Camel K components (from, header, body, and log) are used to test a simple integration. Here's some brief notes on each component:
- From: The from component define the endpoint which is starts the integration. It could be a file, URL endpoint, timer scheduler, etc. In this example, we've set the from component to a timer named
test. This is where you can also set query parameters for your from component based on your needs; for this integration, we've addedrepeatCount = 5to repeat the process five times. - Header: You can assign values to your header to use in your integration. Define values using proper methods, like constant(), simple(), jsonPath(), etc. For our example, we set the header of
Timeto correspond todate:now:hh.mm.ss. - Body: The body can also be assigned with values using the same method as the header. We've set the body to return a statement:
The time for now is ${header.Time}. - Log: To view a specific output of your routes or sections, you can specify the output using the log component. Above, we've set the log to generate the body content.
Now it's time to generate the output:
Figure 2
To run this integration, simply open a command line and run kamel run <file-name>. Or run kamel run <file-name> --dev to run it in developer mode. (See above in Figure 2.)
NOTE: Make sure you've also included the proper Maven dependencies in your project as well.
Building It With Jetic
Jetic is a cloud-native API integration platform built with Apache Camel at its core. With Jetic, designing cloud-native integrations and deploying them via Apache Camel K couldn't be simpler. Our low-code platform makes it easy for developers and less skilled integrators to build and run integrations in the cloud — or wherever you want to place them.
You can learn more about what Jetic can do by reading our documentation here.
For more information on Camel K, you can view the official documentation or a quick guide for installing Camel K courtesy of Apache.


